![Cario logo RGB blue-1.png]](https://knowledge.cario.com.au/hs-fs/hubfs/Cario%20logo%20RGB%20blue-1.png?height=50&name=Cario%20logo%20RGB%20blue-1.png)
This guide outlines the steps to seamlessly install and configure the Cario plugin in your WooCommerce store. It covers everything from plugin installation to enabling shipping options and creating consignments.
Follow these instructions to integrate:
Installing Cario Plugin
- Download the Cario module from here.
- Login to your Wordpress Admin.
- Install Cario plugin
- If you have FTP/SFTP access, do the following:
- Click Plugins.
- Click Add New.
- Click Upload Plugin.
- Click Choose File and select the zip file you downloaded on Step 1.
- Click Install Now.
- Provide your FTP/SFTP credentials then click Proceed.
- If you have SSH access, do the following:
Copy and extract the zip file you downloaded on Step 1 to <wordpress_root>/wp- content/plugins.
Activate Cario plugin
- Click Plugins.
- Click Installed Plugins.
- You should find Cario Shipping Plugin from the Click Activate.
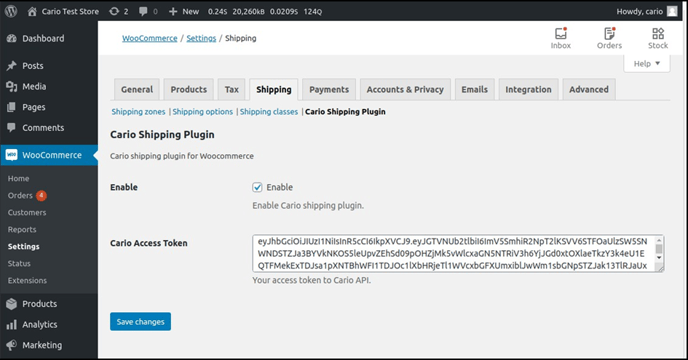
- Enable Cario plugin.
Click WooCommerce.
- Click Settings.
- Click the Shipping tab.
- Click Cario Shipping Plugin.
- Check Enable checkbox and enter your Cario Access Token.
- Click Save Changes.
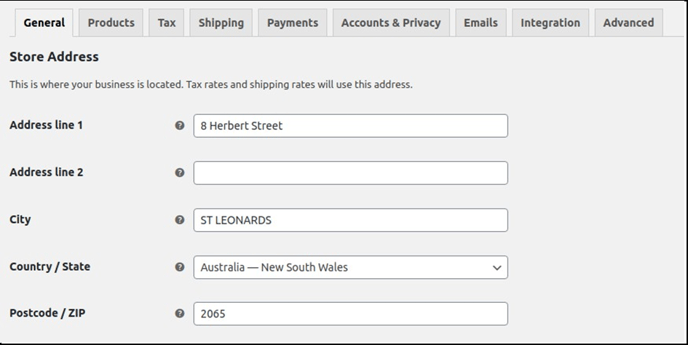
Configure Store Address
Store address is required when calculating shipping rates and when creating a consignment.
- Click Woocommerce.
- Click Settings.
- Click the General
- Provide store Country / State, Postcode / Zip, CIty, and Address line 1 are required by Cario.
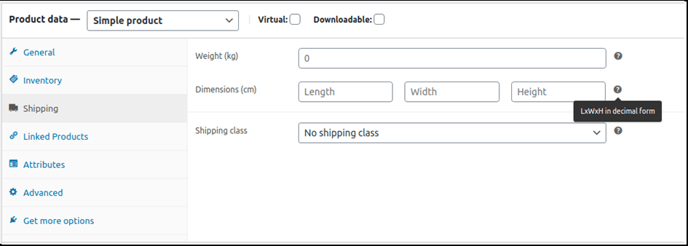
Adding Products
- Click Products.
- Click Add New.
- Under Product data, click Shipping and provide the following information:
a. Weight (kg)
b. Dimensions (cm)
i. Length
ii. Width
iii. Height
- Under Product data, click Attributes and do the following:
- Select Custom product attribute from the dropdown menu then click Add.
- Set Name to ‘containerType’ and Value(s) to ‘Satchel’ or ‘Carton’.
- Click Save attributes.

Testing Shipping Quotes
- Go to our test store: https://plugins.cario.com.au/woocommerce-test-store/
- Add products to cart.
- Checkout.
- Provide all required Shipping methods will be shown once Country, City, and Zip/Portal Code are provided.
- Select a Shipping Method.
- Select a Payment Method.
- Click PLACE ORDER. Order will be processed.
Creating Consignment
- On the Wordpress Admin
- Click WooCommerce.
- Click Orders.
- Click the order.
- Under Order actions, select Create Consignment.

6. Click the arrow beside the dropdown

7. Wait until the process is Once done, a comment under the Order notes will be displayed and the label will be prompted for printing. Create Consignment will be gone from the Order actions dropdown menu.
Clicking the Connote # from Order notes would prompt the label for printing.